Electronic Tach Replacement Pictures
Due to the fact that the original tach kept bouncing foolishly while driving and after countless times of replacing, rebuilding and refurbishing my mechanical tach, I finally decided to replace it with an electronic tach. Here are some of the pictures during that installation.

|
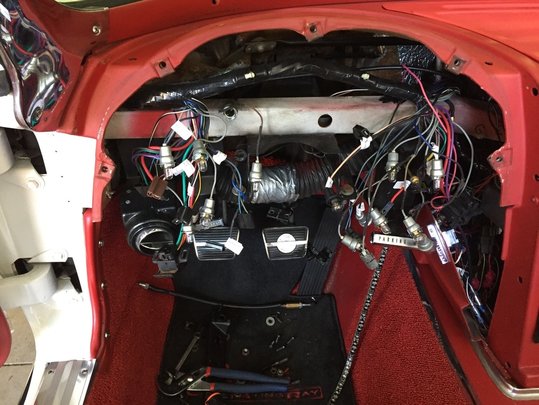
Removing the gauge cluster from the car using 1/4 threaded 5" screws to support the cluster while labeling and removing wiring. |
Gauge cluster removed from car
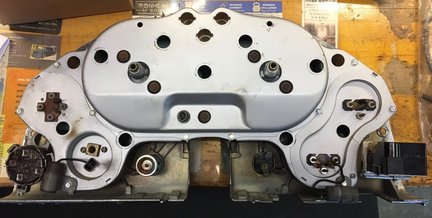
Back side of gauge cluster for reference
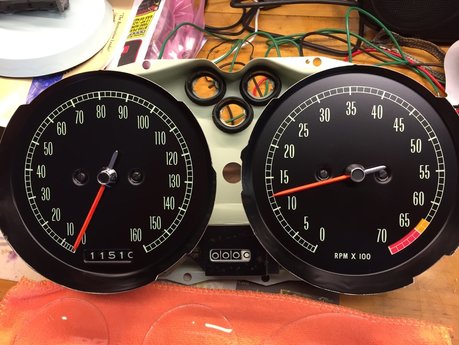
New electronic tach installed in gauge cluster
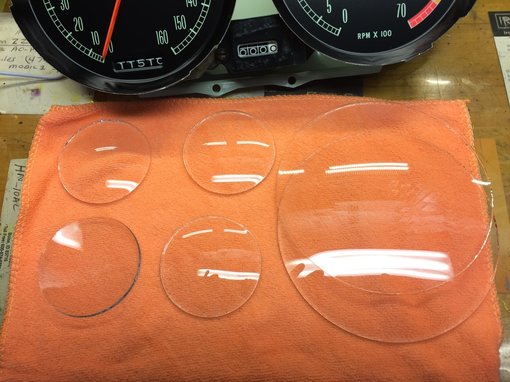
A chance to clean off all the glass lens
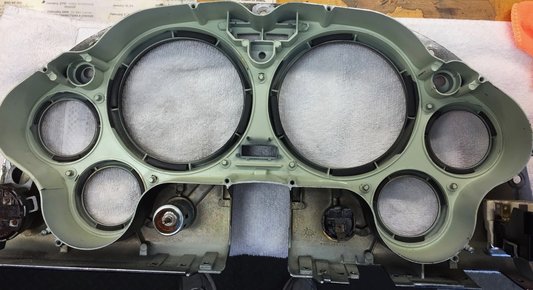
Cleaned up the gauge cluster back side.
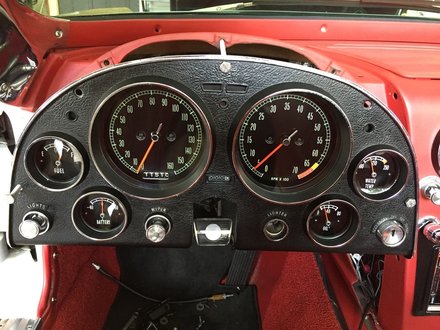
Reassembled and ready to reinstall. Total time was around 3-4 hours on the gauge cluster itself other than removal of steering column.

When in the off position, my tach needle sits around 1200 on the scale. It quickly drops to zero once the key is turned to the on position.
